Showing posts with label diy. Show all posts

Friday, March 25, 2016

Spray Paint and Vinyl Stencil Signs


Lately I've been doing some projects with spray paint and stencils. This method seems to work a lot better for me.  I've tried doing the method that people call PVPP (paint, vinyl, paint, paint), but it just doesn't seem to work for me.  Seem to always getting bleeding under my vinyl and have to touch up. With using the spray paint and vinyl. Below the pictures is explained on how I made these signs using spray paint and a stencil I made using my Silhouette Cameo

 I have not had to touch up these spray paint and vinyl stencil projects at all.


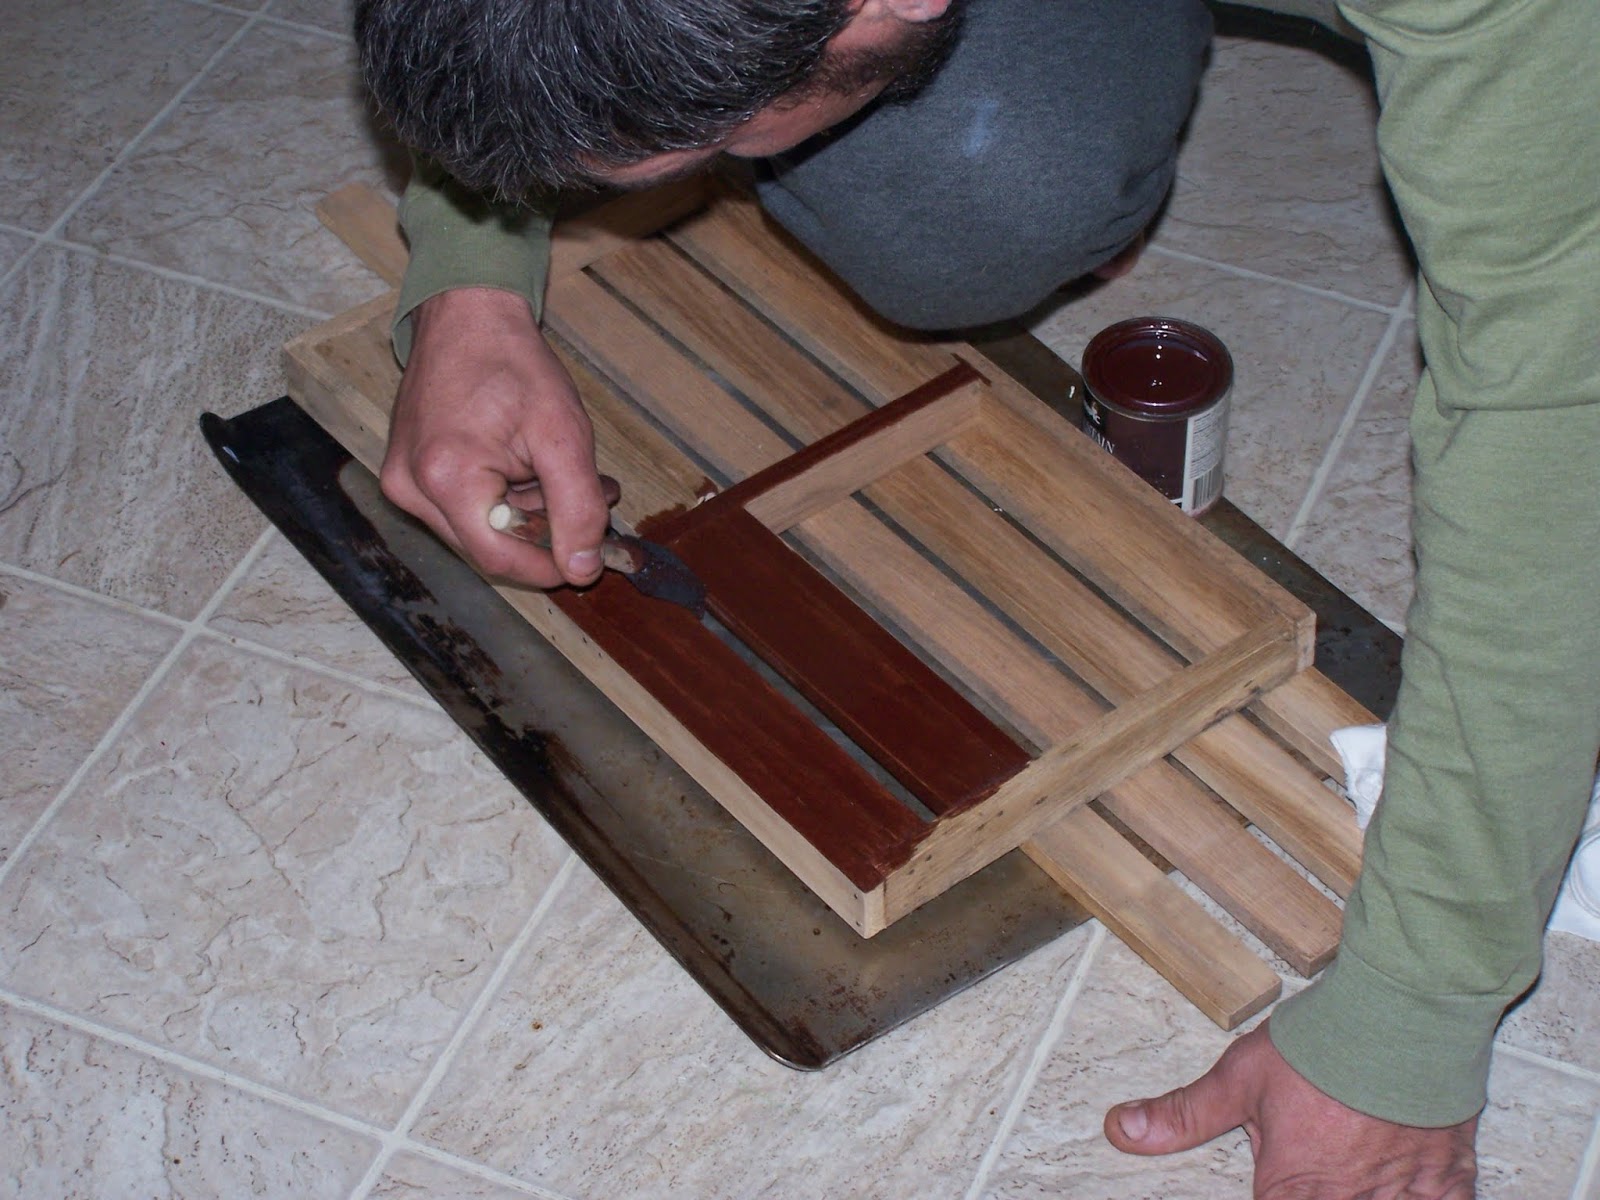
First off I had to figure out what signs I wanted to make.  Then got my boards around. Sanded them good. Decided on the paint colors then painted my base color, which is the color of my wording.  Then went to my Silhoutte Cameo to cut the designs out. Next placing the stencil cut from the Cameo onto my painted board.

Then I used a can of Rustoleum Spray Paint, any paint would work but this is what I had on hand.  First a very light coat, then a second coat covering completely but still not too heavy.  Last a third coat just to make sure everything was completely covered.  Letting it be til almost completely dry, before moving on to working on removing the stencil.  **I tried a little too soon and I was getting my prints on the sides of the board.**

Final step I used a dental pick to remove the stencil poking into a corner of each letter and pulling it off the painted board.


If you look pretty close the half done picture you will see how I have no bleeding under the stencil. For now on spray paint is what I will use to make my signs, at least until I figure out how to do the PVPP method good.
So give it a try and let me know how it worked out for you using the spray paint and vinyl stencil method.

As always I've Gotta have Projects.
Happy Crafting


Wednesday, January 6, 2016

Picture on Pallet with Tutorial

After seeing all these picture on pallet ideas going around I decided to make my first one. Love how it turned out.


For those of you who would like to DIY on a piece of pallet or really any kind of wood. Here is how I did mine.
Supplies

Piece of Pallet or any other kind of wood
A Picture
A spray clear sealer
Sand Paper
Mod Podge
Stain
Polycrylic or other such type sealer
A quote 
(I used my Silhouette Cameo and created one but you could buy or paint one on.)
Twine
Burlap (only need if making a burlap rose)
rag and Sponge brush ( or whatever works for you to apply Mod Podge)

First I got my picture ready by spraying the top with a clear sealer. I do this so when I apply the polycrylic it doesn't smudge my photograph. Let dry. 
Next prepare your piece of pallet. I sanded the best I could then stained it with a cloth and wiped off access.
Then put a layer of Mod Podge on your pallet where your picture will be placed. I then take the picture and put a light coat of Mod Podge on the back of the photo making sure you get the edges. Oh forgot I tore down the edges of my picture not necessary, I just like the worn look. Now place your photo where you wanted it and smooth out making sure to get out all the bubbles. Keep smoothing. Let dry. 
Now you are ready to apply the Polycrylic. Mine took several layers as I needed a smooth surface for my quote that I did in vinyl with my Silhouette Cameo. After your polycrylic is complete dry you are ready to add your quote and other embellishments.  I wrapped twine across the top and added a burlap rose. 

I will be making more of these pictures with pallets. Would like to see some of yours as well. 


Thursday, January 1, 2015

How to Make a Saltbox House from a Box

Recently learning how to make a saltbox house from a plain empty box.  I decided I would like to share how I made my Saltbox house from a Box.


Tuesday, December 30, 2014

Primitive Faux Bread Using Spray Foam

Some primitive looking breads I made using Spray Insulation Foam. They are fairly easy to make.


You will need:
Spray Insulation Foam (Touch 'n Foam, Great Stuff or any kind)
A pan or dish that you will be using. (see note below) 
for mine I used cinnamon, nutmeg, Epson salt, oatmeal, small beads, brown colored paints, and Mod Podge. White caulking. 
Use things in the liking for decorating the tops.  There are many ideas on Pinterest.

Take your spray foam and start on one side of your pan and fill about 1/2 to 3/4 full slowly working your way to the other end of your pan. I have done it also by filling the bottom first working my way to the top.  It will give you a different look. I found it to have a smoother look working from one end to the other and a lumpier affect fill bottom first. Just work with the foam and have fun trying different variations. If you fill too much it will puff all up and overflow.
Let it dry.
Once dry you can begin decorating to your liking.  Some I painted then mod podged. Some were mod podged and then my spices added. For my white topping I've tried white paint and glue, puffy white paint, and white caulking. I found that the white caulking worked the best for me.
Be creative. 
**Note** you will not be able to use this pan or dish again so make sure it is not one that you will want to reuse for cooking or eating from.

faux bread, spray foam, primitive bread


 Before 
After spice and paint 

 Finished 

I showed a friend my breads and explained to her how to make them and her creativity just went wild with them.  She had posted them on Facebook for sale and people were just loving them. She has done an excellent job at using her creativity and experimenting with the spray foam.
  
Here are a few examples of the creativity one of my friends have using the Spray Foam to create faux breads, pies and cupcakes..


 Tosha's Cherry Pie


***All pictures belong to Gotta have projects.  Please do not claim as your own. Give credit where credit is due.  As I do the same.***

Sunday, October 5, 2014

Toilet Paper Roll Candles

Candle made from Toilet Paper Roll
I did not make this Toilet Paper Candle and these are not my instructions but I am giving credit to the one who did.  See below I hope she doesn't mind that I put this out to the world to share.  I don't know if she even has a website or blog as I got the information from one of my Facebook groups.  They are so many talented people out there with so much talent.  This is one project that I have tried but have come to realize that wax and me just don't mix to well.  I have tried several projects with candle wax beginning to think it just doesn't like me.  The directions are easy enough for anyone to follow so I thought I would share with others that might not have a problem working with wax.

So now for the instructions
What you need
Roll of Toilet Paper
Black or White or Tan Spray Paint (depending on light or dark candle)
Paraffin Wax
Double boiler or can  that can sit in a pot or crock pot (she uses regular pot)
Fragrance (spices or oils)
Coloring from (colored candles, crayons, food coloring, etc..)
Tongs
Wax paper
Electric Tea light
Elmer's Glue or Mod Podge
other embellishments (oats cinnamon, cloves, etc..)

Spray paint your tp with flat paint and let dry,  I use black spray paint for dark colors and white/tan for light colors..
Melt your wax or paraffin. I use a regular pot and I set on a bit above low.  Some ppl use crock pots or double boilers. At this time you can add your fragrance (spices or oils) and colors (colored candles, crayons, food coloring, etc).
When the wax is completely melted use some tool (I use tongs) to hold your toilet paper and dip your tp roll into the wax to add a thin coat of wax on it. Set it on a plate, wax paper or paper plate.
Let it cool.
At this time you can add a label or picture to the candle.  Simply glue it on.
Now you have to decide the look of the candle you want to make.  If you want a smooth candle, spoon the wax onto the candle and smooth it out. If you want a frothy candle continue on. Let the wax cool until it begins to form a crust.  Then skim a spoon across the top of the wax and transfer that to your candle.  If you have a label, be sure to put the wax around the label first. Then keep spooning until the candle is covered.
You may have to reheat the wax and let it cool again to finish.
Cover your tea light, too. Don't cover the bottom of the tea light. Let it all cool.
Then decorate. You can add oats, cinnamon, cloves.. well, anything you want to your candle. Just use Elmer's (some use mod podge, but Elmer's is cheaper... a lot!!).
To protect my candles I put a coat of Elmer's glue and water (half and half) all over everything except material. However, if you put this mix on material, it will stiffen it, so it's up to you.
Your candle is ready to be plated. Burn away! Well not really burn but turned on.

Hope you enjoyed her instructions


Picture and instructions are by Diana Hammond please do not use as your own. Give credit where credit is due.

Wednesday, July 9, 2014

Tobacco Stick Shutter Projects and a Few other Tobacco Stick Projects

Shutter projects from tobacco sticks and a few other tobacco stick projects I've done. Very easy and simple to do.
My husband started making these unfinished shutters to sell. They are 6 in x 24 in.  


When I seen them I starting thinking about what I could do with them. So I grabbed myself 2 unfinished ones and went to work. I made myself a set of shutters with crows stenciled on for my bathroom. Our bathroom mirror was just so plain looking, which so is the whole bathroom, not really decorated the way I want yet. Anyway above my sink is just a flat large mirror on the wall. Plain Jane, (YUCK).  But after painting two of the shutters Brick Dust Red and stenciled a black crow and stars on it now not so plain.

Before hanging them


After I hung. (Don't mind the rest of what you see, as I said bathroom not done yet)

 Americana with Old Glory handwritten on and a metal star with pip berries.
Using same unfinished tobacco stick shutters he made I painted this Americana Shutter. Adding my metal star and pip berries gluing on with E6000 glue.   Got this idea from a smaller one I seen on Pinterest.


Basically same concept as my Old Glory shutter but this time stenciled on America and added a raffia bow.


This shutter is just painted black with a star in middle. For the star used a stencil I made from contact paper and dry brushed my antique white paint on for a more worn look for the star. Then stapled pip berries across the top.


Flag drilling holes with a very small drill bit to attach my sticks together with wire. Twisting each section of wire to hold in place and then a hole also drilled in the top on both ends to attach twine for hanging.


Tobacco stick basket with twine handles


Welcome sign fence with pip berry wreath with metal star.


Grapevine and battery operated lights tied on to this tobacco stick ladder with some homespun material.


Decorative window from tobacco sticks. Simple looking, just some raffia and homespun bow.  An 
Old Glory sign made from a piece of scrape wood  and a grungy battery operated candle.


Tobacco stick ladder with homespun, a rusty metal star and some pip berries.


My hubby staining this trivet he made for the pans and silverware.  He
made this so our table wouldn't be affected from the heat from the pans.

                                                  Top view showing where the silverware go
                                   Front view with the pans and silverware in place on a table.
And this is the view with  the trivet hanging on the wall when not in use.  I added the homespun 
material to it for a more decorative look while it is hung up.

Hope everyone else loves my Tobacco Stick Shutter projects as much as I do.


Wednesday, May 21, 2014

Faux Brown Egg-Tutorial

Faux Brown Egg Tutorial


 I know its late for this tutorial but save for next year or if you could get a hold of some of these faux eggs.  I purchased mine from Wal-mart at Easter time.  The faux eggs came in little egg cartons with no seems and are dye able.

Basically all you need is the faux eggs, brown shoe polish (I used the kind in the small round container) and brown paint mixed with a little water and an old tooth brush. **Don't have paint and water mixture too watery or it will run.  I suggest testing the platter on paper first.

Take old rag and wipe on shoe polish covering whole faux egg and wipe off. I did whole dozen at a time. 

Then mix a little water with the brown paint dip tooth brush in paint and rub your finger across bristles to make it splatter off.  Let dry and turn eggs over and repeat the process with the paint and tooth brush. 

There you have it your Faux Brown Eggs that will look great in your country, primitive kitchen.

Other Tutorials Here

Monday, May 19, 2014

TP Make Shift Glue Gun Holder

A super easy make shift Glue gun holder from toilet paper rolls for you to make. Super easy basically free.

All you need is an empty toilet roll, scissors and of course your glue gun. Oh don't forget your glue sticks as well. 

Heat up glue gun. Take empty toilet paper cut about 2 inches from one end  set aside take the remaining bigger section cut to make it open.


Flat and smooth out trying to get it pretty flat.
 Next grab your smaller section put a ring of glue around the round straight edge. (I used the uncut end  as that was for sure straight) Now place that on the end of the flattened toilet paper roll.

I'm sure you could decorate it if you wanted to but for me I'm just leaving it as it is. With it being super easy to make and practically free I could make several a week.  Besides the holder is mainly to stop the dried hot glue from getting on my table, my main work surface.


It may not be the prettiest Glue Gun Holder but at least I will not have dripped dried hot glue on my work surface.

Featured Post

Picture on Pallet with Tutorial

After seeing all these picture on pallet ideas going around I decided to make my first one. Love how it turned out. For those o...